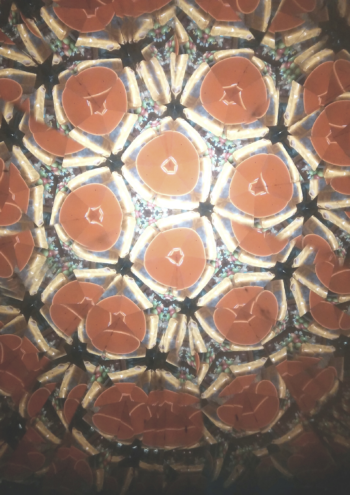
Kaleidoscope
Today we made a DIY Kaleidoscopes. We used this art project as part of math our class. We talked about and practiced measuring and touched on the geometric shapes.
I try to make school fun with hands on art and entertaining projects. Sometimes it’s a mess, sometimes there’s stress, but I know that I’ll miss it one day.
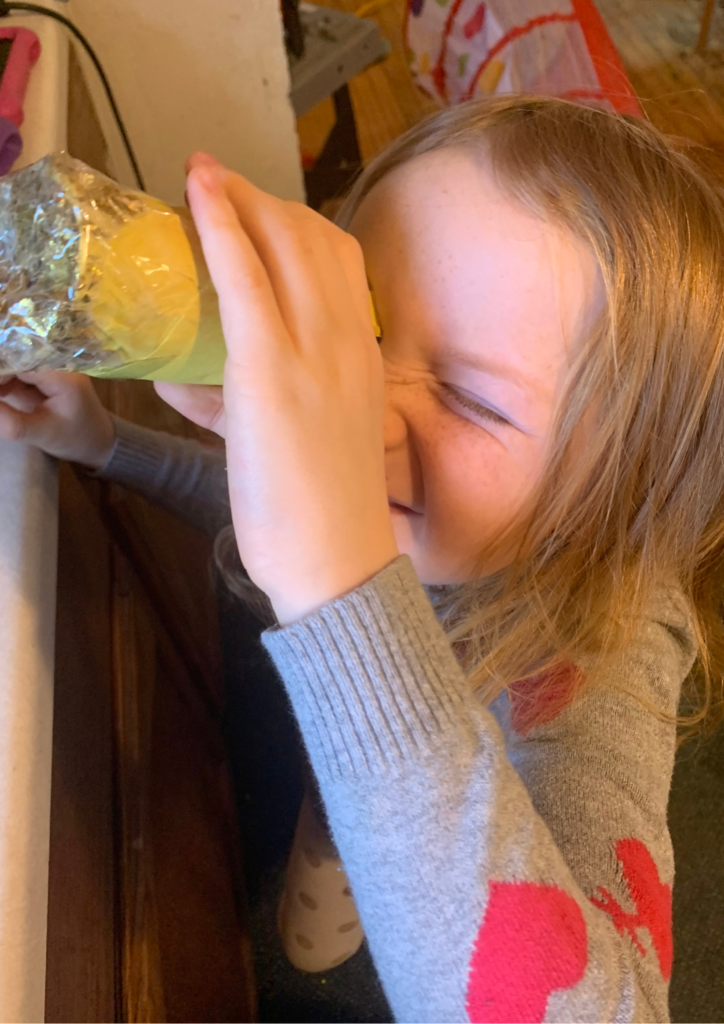
Here’s how we made ours:
First, decorate the empty (cylinder) toilet paper roll.
Then to make the triangular prism piece in the middle, cut a 3” x 4” rectangular piece of thin cardboard (We used an empty macaroni box). Tape or glue aluminum foil to one side and fold it in thirds to make a triangular prism.
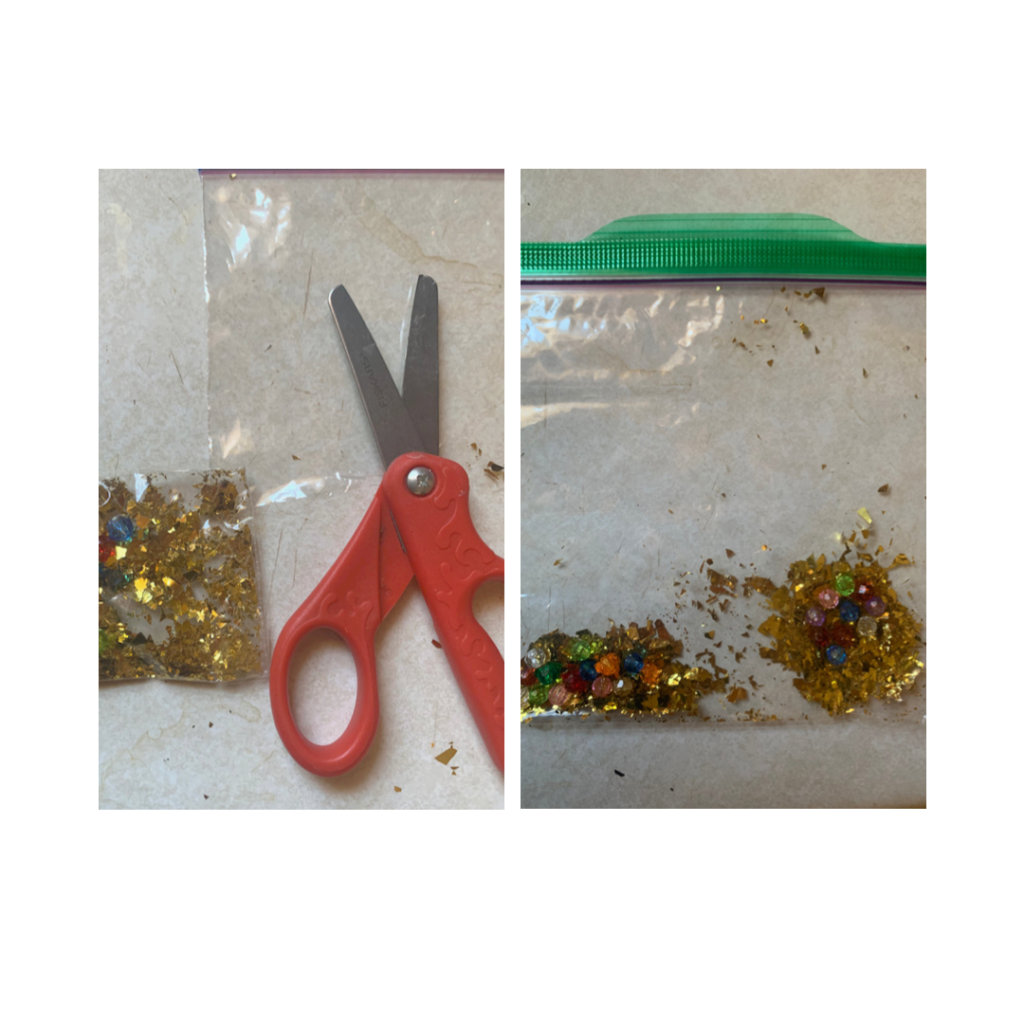
Next to make the colorful end piece, fill a plastic bag with colorful beads, paper shreds, or glitter. Depending on the size of your bag, you can cut it to fit just a little bit bigger than the circle at the end. Careful not to spill the colorful beads, tape around the the entire edge to secure it. If the bag is a little loose the colorful pieces can move around freely as you turn the cylinder, but if it’s tight they may stay in place.
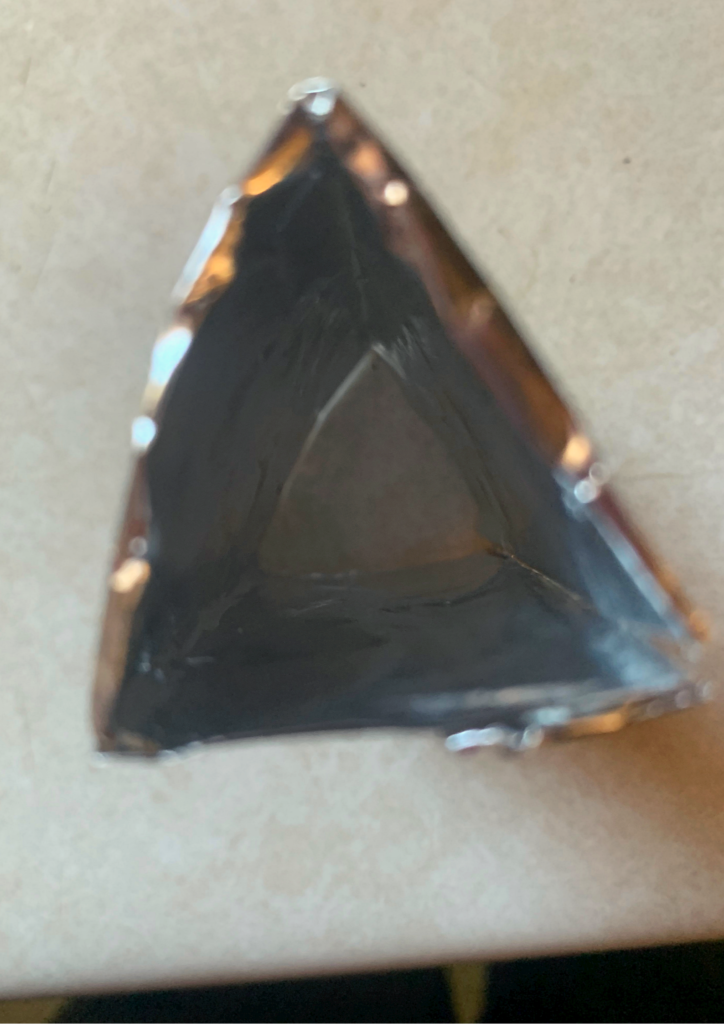
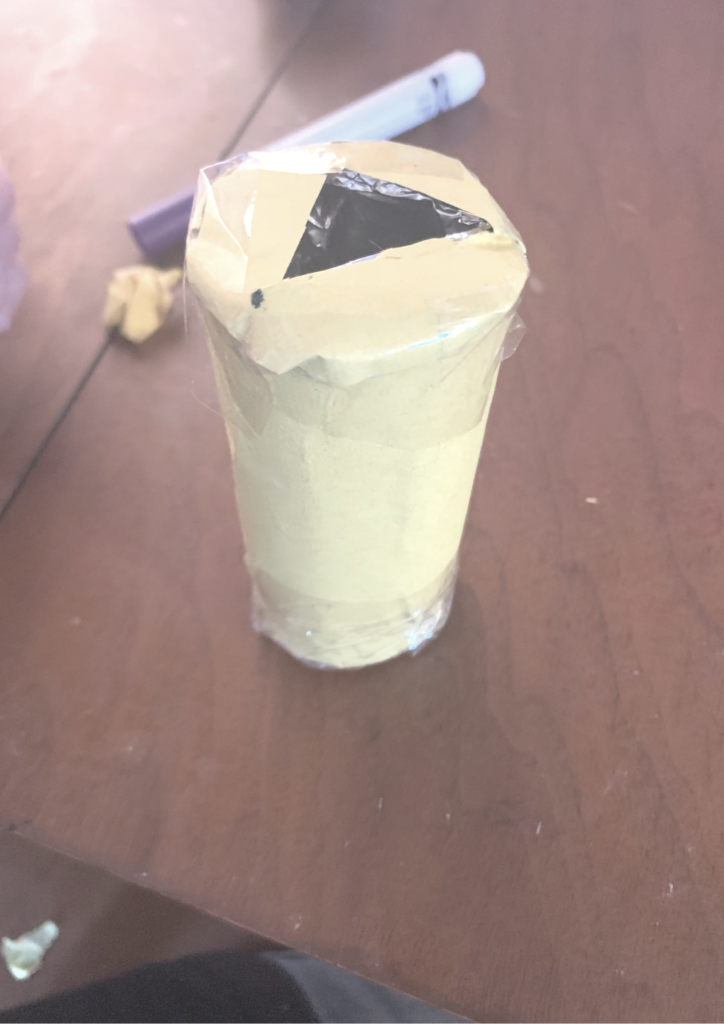
Finally, add finishing touches. Stickers, paint, stamps, whatever makes you happy. I liked having a cover on the opposite end to make it easier to look through. I simply traced the circular end allowing about a half of an inch around the edge. Taped it around the the circumference and cut a triangle out of the center. As shown below:
I hope you enjoyed creating or reading about this easy project. I’d love to hear your thoughts and ideas!
~Amy
