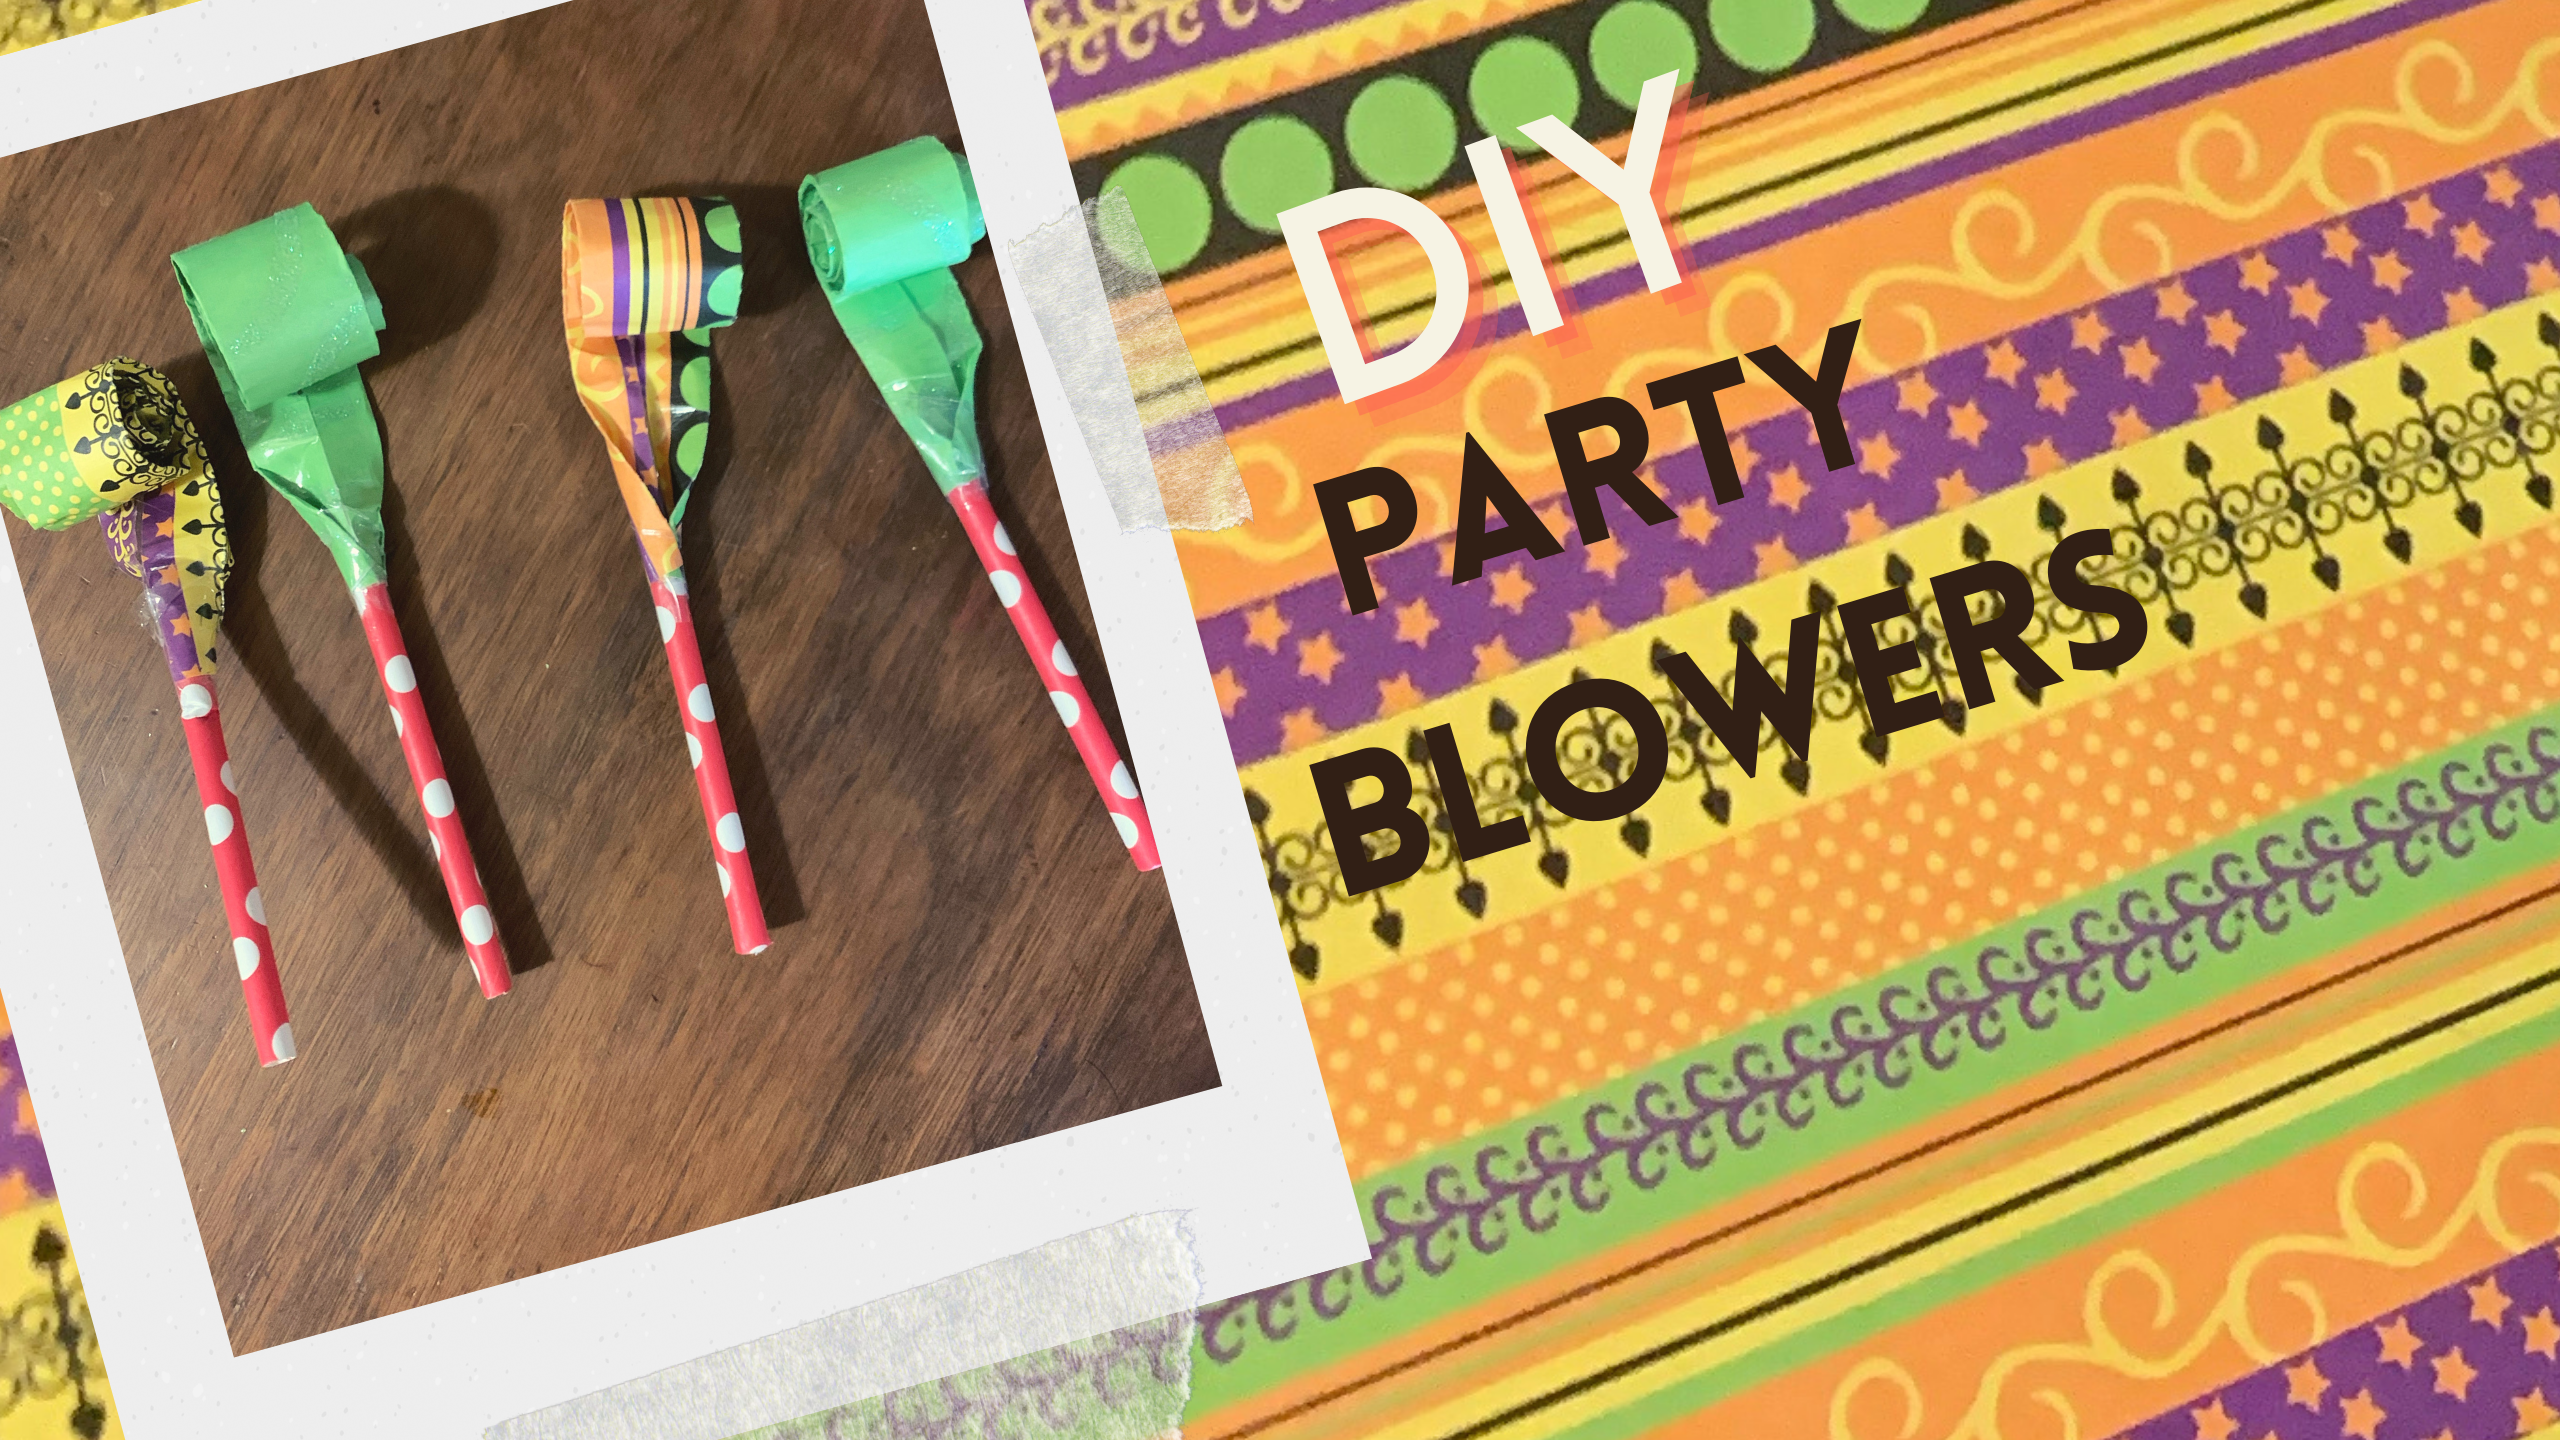

Make your own party blowers for any special occasion!
This is such a great project to do with kids and is broken up into two sessions to allow the paper to form.
This means it’s perfect for kids with low attention spans!
Speaking of which, you can make your art and craft time as long or short pad you want.
If you want a nice quick session, prepare the paper in advance. You can cut the paper in 2” strips and get all your supplies ready for the activity and so everyone can enjoy the low stress, less mess, creative fun!
However, I know there are times when you really need to keep kids busy with a longer project.
Also, some kids love to do everything themselves and thrive with creativity and longer projects. If that’s the case, you could have them choose their paper or even decorate their own papers, then measure and cut their strips.
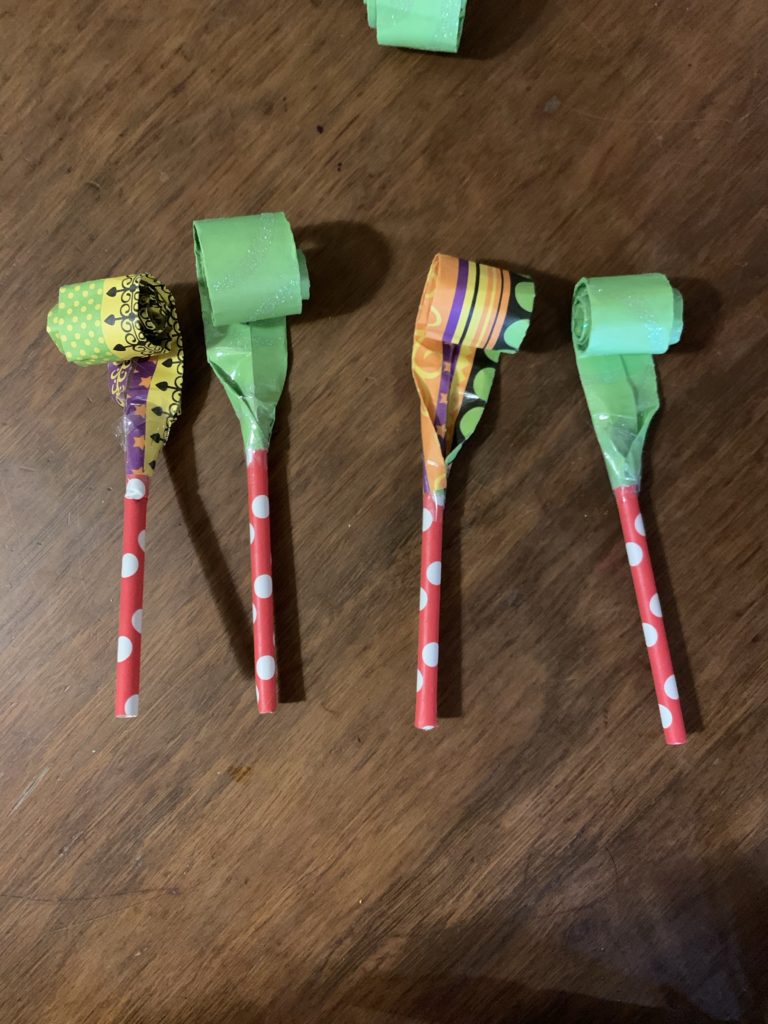
We made our party blowers for a fun art craft that doubles as a gift for our upcoming family get-together.
One suggestion, make more party blowers than you want. Paper can rip, it may not align well, and kids will want to try a few. Ours turned out great, but out of 10 blowers, only 4 remained untested 🙂 Yeah… we will not be giving our blowers out with our germs. 🦠
Supplies Needed:
- Paper that can be cut into 2 inch by 8-12 inch strips. (We used decorative scrapbook paper 12”x 12”, but any kind will do.)
- Ruler
- Pencil
- Scissors
- Tape
- Straws (Paper or Plastic)
- Rubber bands (We used hair ties and wristbands)
The ad below is a bunch of neat patterns of scrapbook paper. (Affiliate link, I may get a tiny portion for any purchases through my links)
Let’s Get Started!
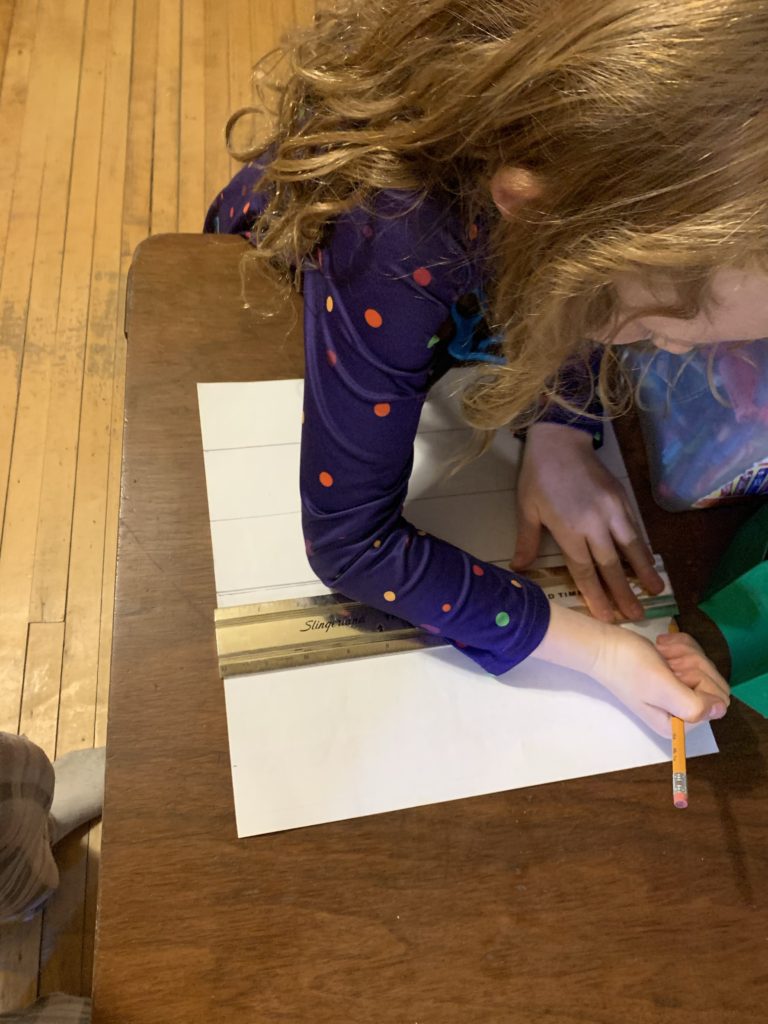
Step 1: Using your paper, measure and cut out 2” x 8-12” strips.
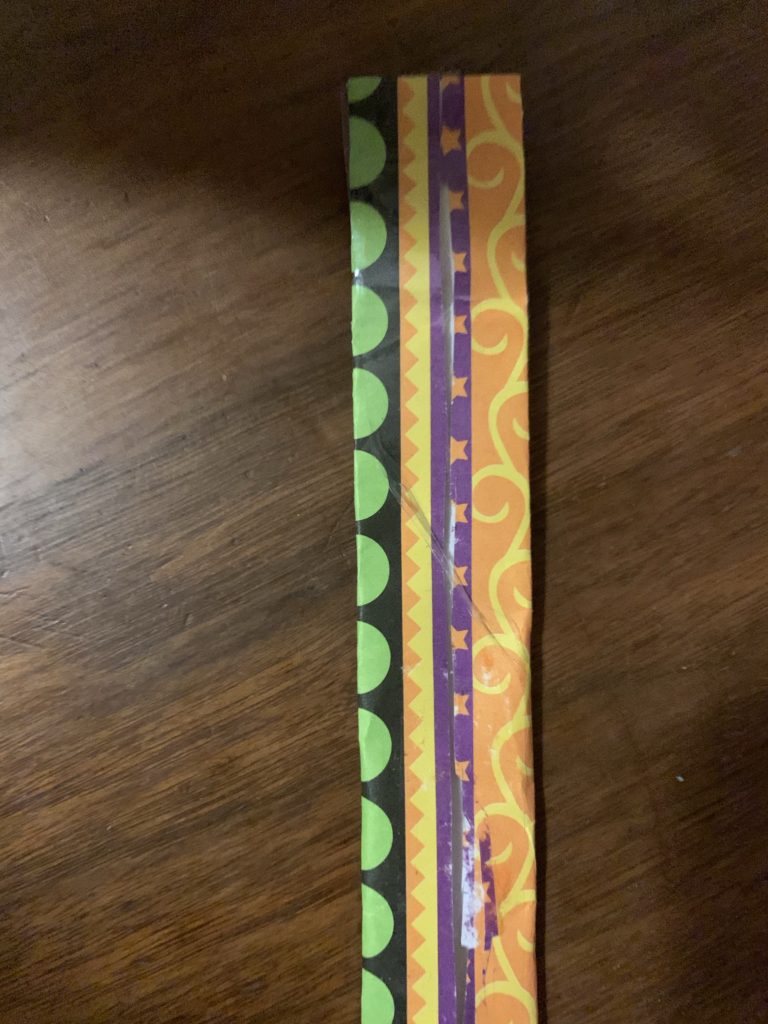
Step 2: Fold your strips on both ends, lengthwise, so that they meet in the middle. (They should be touching or slightly overlapping, no space in between.)
Step 3: Tape the fold together all the way down. (We are basically making a large straw, so you don’t any air holes. It needs to be sealed all the way)
Step 4: Make a fold, about a 1/4 inch, on one end of your paper blower. Then, tape it in place.
Step 5: Starting from the taped end, wrap the paper tightly around a straw or pencil.
Step 6: Wrap a rubber band around your paper roll to hold it in place.
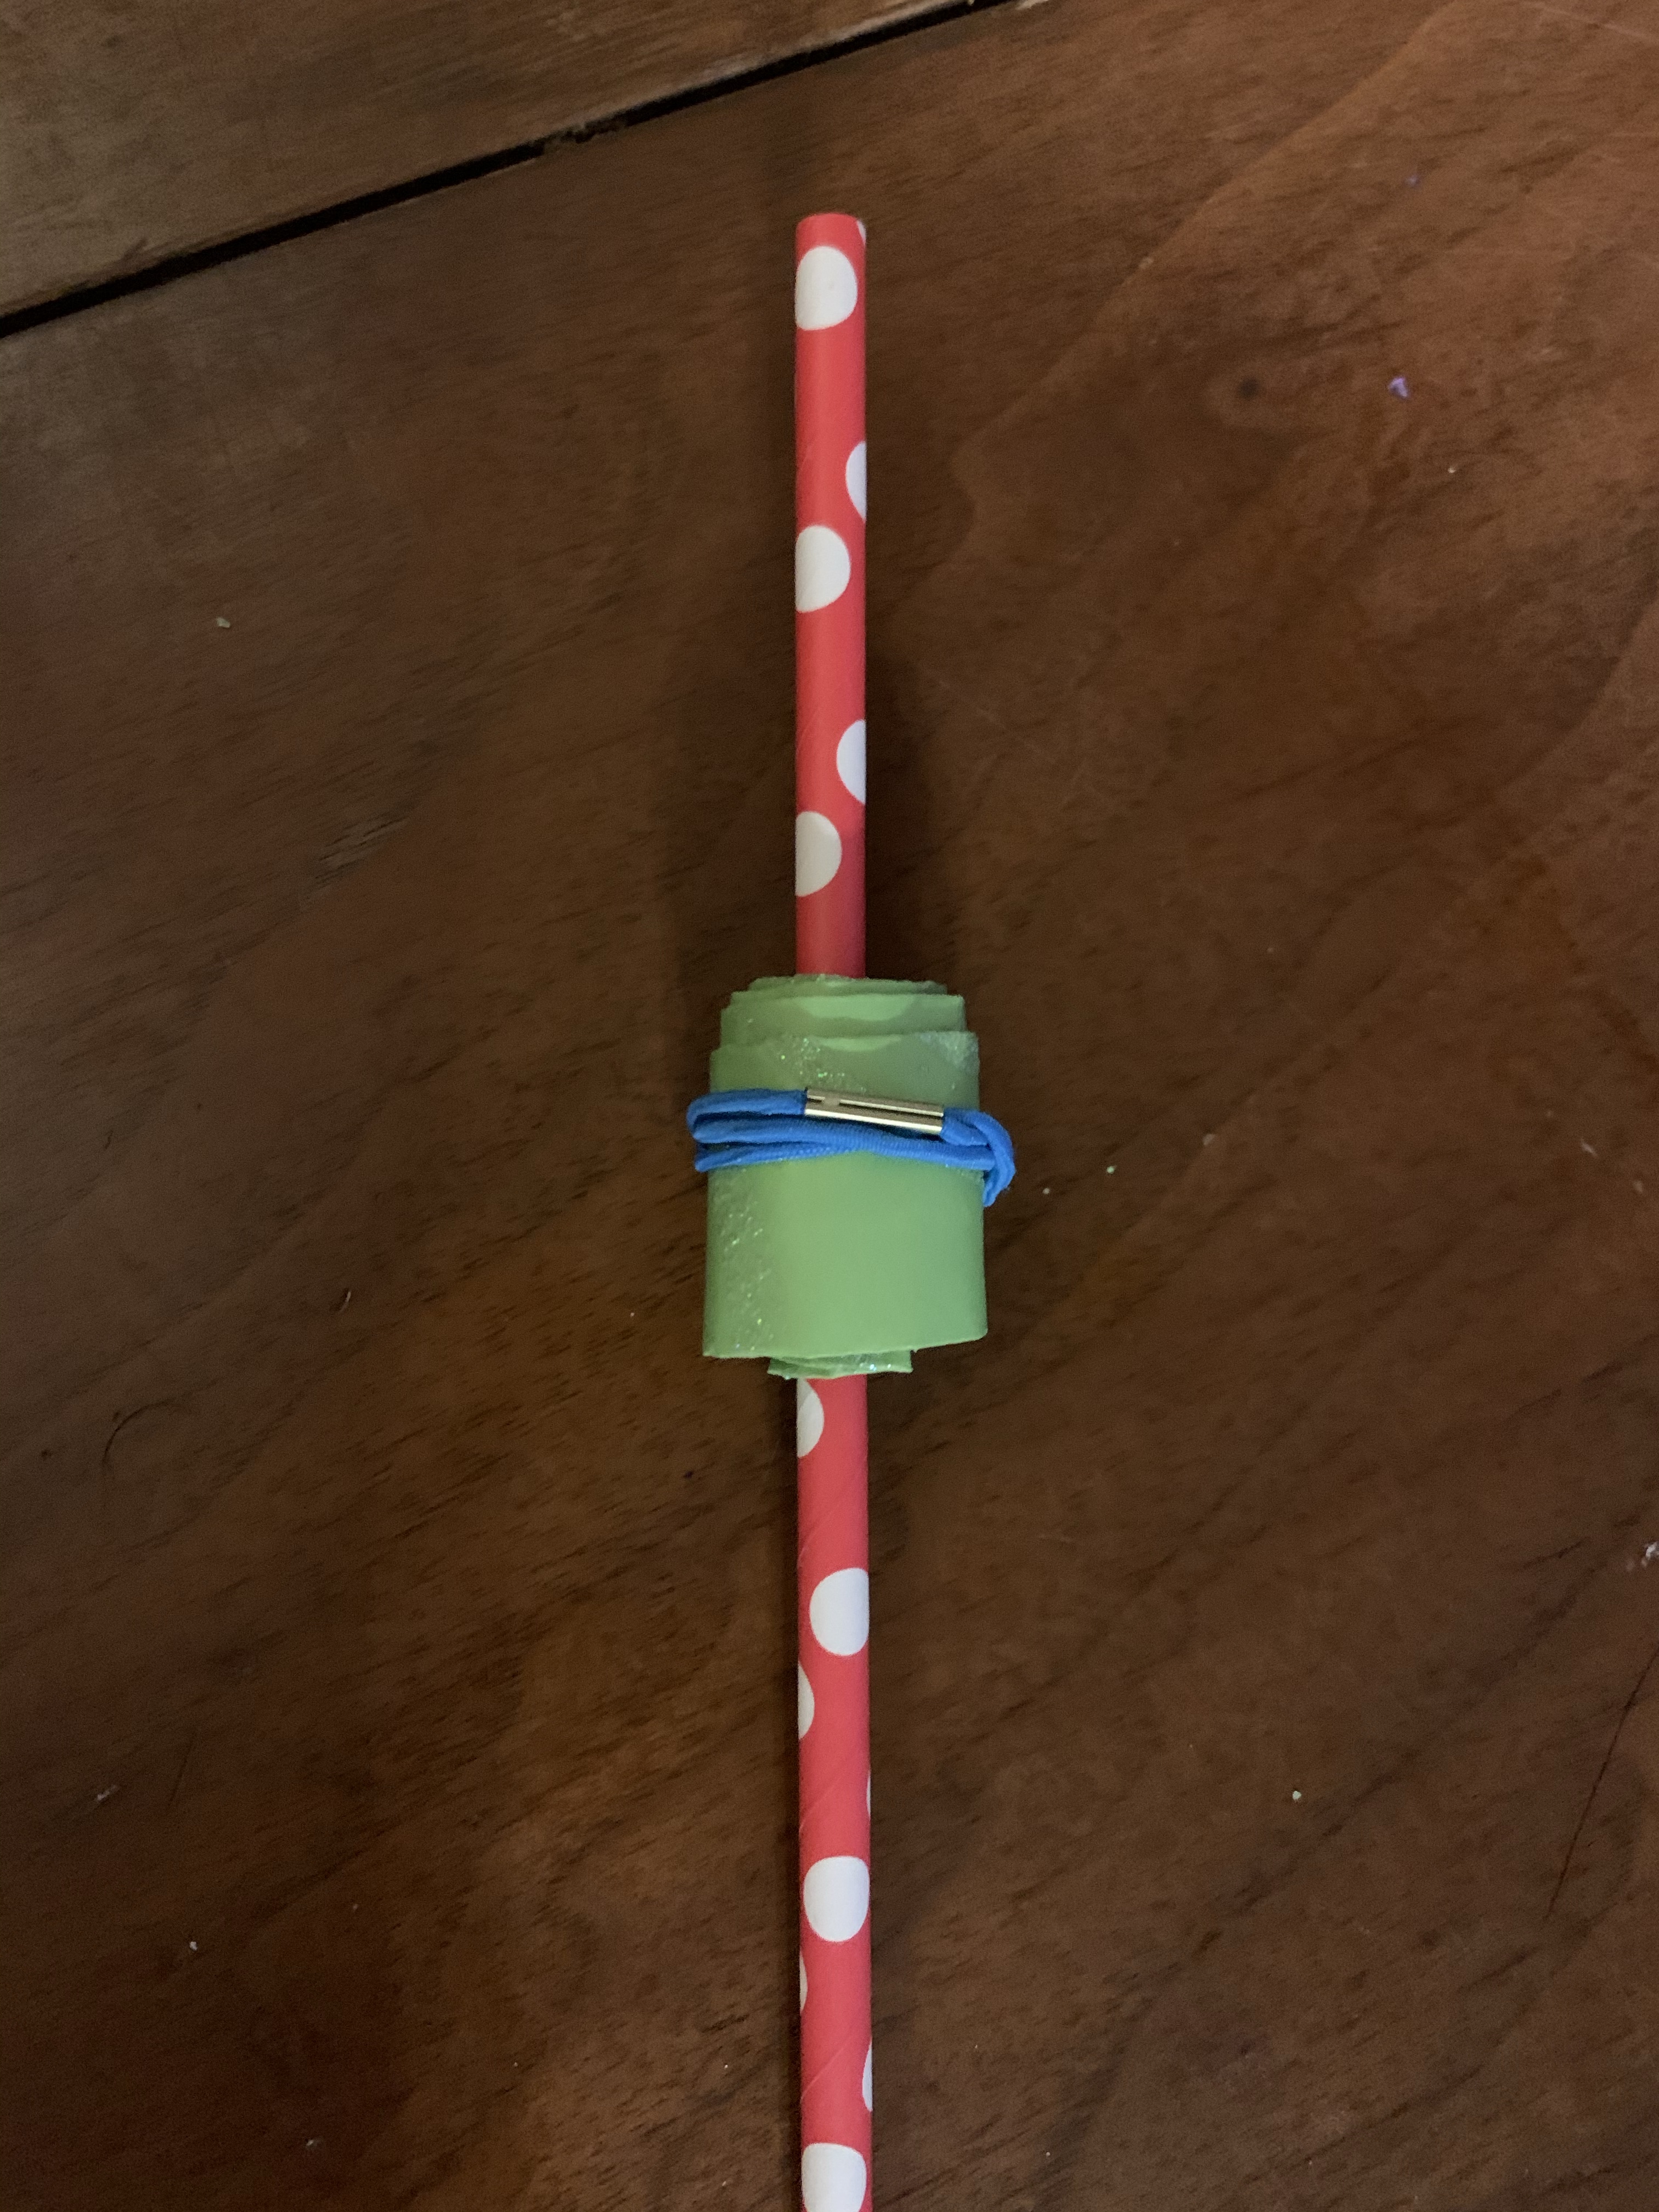
Let it sit for 8 hours or more hours. The longer the better.
Step 7: Cut your straw in half.
Step 8: Unwrap your rubber band and insert a straw piece, around 1 inch of it, into the open end of the paper.
Step 9: Fold down the sides around the straw and tape them together.
Step 10: Try it out! Have fun!
Check out this tutorial video made by my daughter. <3
We hope you enjoyed these as much as we did!
Have a great day!
~Amy